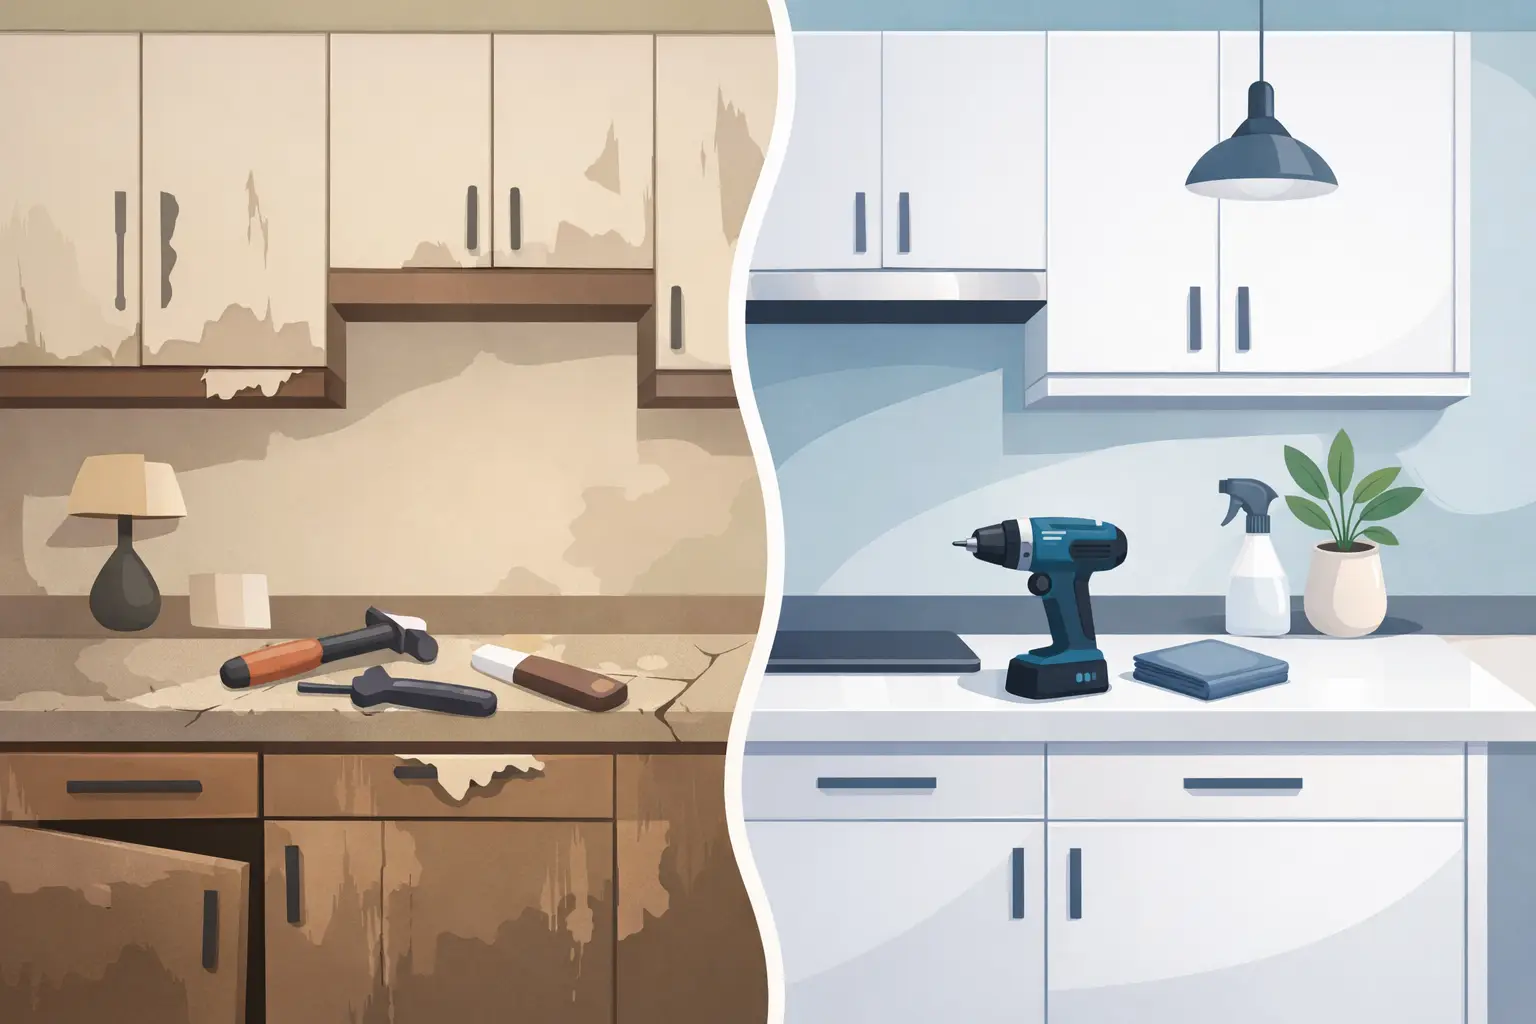
A kitchen cabinet can look acceptable from the outside while the section below the sink is already soft, swollen and breaking down. That is why cabinet repair before and after work is not just about making damaged wood look new again. In Singapore, the real improvement is often hidden: a dry, firm cabinet base, a repaired water tap connection and no more moisture spreading into the next panel.
For HDB flats, Condo units and rental properties, a full kitchen replacement is often the wrong first answer. If the kitchen top, doors and most of the carcass remain sound, replacing only the rot-affected base, side panel or plinth can restore the cabinet properly without tearing out an entire kitchen.
What Cabinet Damage Looks Like Before Repair
Most cabinet damage starts quietly. A slow drip from the sink waste pipe, bottle trap, flexible hose or water tap connection wets the same area day after day. In Singapore’s humidity, particleboard and MDF absorb that moisture fast. The board expands, the laminate lifts at the edges, and a firm cabinet floor turns dark, crumbly or spongy.
Before repair, homeowners commonly notice a musty smell beneath the sink, doors that rub against the frame, bubbling laminate, rusty hinges or small black marks around the cabinet base. Sometimes the damage has travelled into the adjoining cabinet carcass, especially where there is no sealed barrier between units.
Do not assume every swollen panel means the entire kitchen has failed. A handyman should check where the board is actually weak, trace the source of water and inspect the surrounding panels from both sides. This is the difference between a targeted repair and an expensive proposal based on a quick glance.
Cabinet Repair Before and After: What Should Change
A proper before-and-after result has three parts: the leak is resolved, the damaged material is removed, and the repaired section is built to suit the existing kitchen layout. A new board fitted over rotten wood may look neat for a few weeks, but it traps the underlying problem and gives moisture another place to spread.
After a fractional repair, the cabinet base should feel solid under normal stored items. The new panel should sit level, the doors should close without catching, and exposed edges around plumbing cut-outs should be protected from future splashes. Where practical, a water-resistant board is a better choice than ordinary particleboard for the sink area.
Appearance matters too. The replacement section should be colour-matched or finished as closely as reasonable to the existing cabinetry. However, transparency matters more. In an older HDB kitchen, an exact laminate match may no longer be available. A reliable contractor will tell you upfront if the repaired panel will be a close match rather than promising an invisible result.
The hidden improvement below the sink
The best after-photo is not always the dramatic one. It may show a clean, accessible space below the kitchen sink, with the pipework checked, the cabinet floor replaced and the edges properly finished. That gives you a dry area that is easier to inspect the next time a bottle trap loosens or a hose starts to drip.
For landlords and property agents, this is particularly useful between tenancies. Repairing the affected section early avoids handing over a cabinet that fails shortly after the new tenant moves in. It also costs far less than allowing water damage to reach multiple cabinet units or the kitchen skirting.
When Fractional Cabinet Repair Saves Money
Fractional repair works well when damage is localised. A sink-base floor, one vertical side panel, a lower plinth or part of a cabinet carcass can often be removed and rebuilt while retaining usable doors, drawers, kitchen top and adjacent modules.
This approach is common in older HDB kitchens where the laminate doors are still serviceable but the board under the sink has been repeatedly exposed to water. It is also sensible for a Condo unit where full renovation means coordinating delivery access, contractor timing and MCST rules, all for a problem limited to one cabinet section.
It depends on the construction and extent of the damage. Full replacement may be the better call if the kitchen top has been compromised, several cabinets are swollen throughout, termites are present, or the cabinet system is so old that sound repairs cannot be anchored safely. A direct assessment should separate what must be replaced from what can stay.
The cost-saving point is simple: do not pay to demolish sound carpentry just because one wet section has failed. Equally, do not accept a cheap cover-up that leaves rotten material behind.
The Repair Process for a Sink Cabinet
The job should begin with inspection, not cutting. First, identify and stop the water source. This may involve tightening a waste connection, replacing a worn seal, dealing with a leaking water tap hose or calling for plumbing work if pipe damage is present. Installing new wood before resolving the leak simply repeats the problem.
Next, the affected board is removed carefully. In many kitchens, this requires working around existing pipes, sink supports and fixed cabinet frames without damaging the kitchen top or nearby doors. The remaining structure is checked for softness and treated only as far as necessary. If the side panels are firm, there is no reason to remove them merely to increase the invoice.
The replacement board is then measured and fitted to the actual cabinet, not guessed from a standard size. Pipe openings need enough clearance for access but should not be excessively large. Edges and vulnerable areas are finished appropriately, and the cabinet is tested for stability before the stored items go back in.
For homes with recurring minor drips, consider using a removable protective tray beneath the sink after repair. It will not fix a leak, but it makes fresh water easier to spot before it soaks into the board again.
Avoid These “After” Results
A tidy-looking repair can still be poor workmanship. Be cautious if the contractor proposes covering swollen board with a thin sheet, silicone-sealing everything without checking the pipework, or replacing a panel without explaining what caused the water damage.
Also watch for vague pricing. “Transport”, “materials” and “extra labour” should not suddenly appear after work has started unless a genuinely hidden issue has been shown and discussed. Send clear photos first, including the cabinet interior, the sink pipe area, damage close-ups and a wider view of the kitchen. This allows a more accurate upfront quote and reduces surprises on site.
If you live in a BTO flat and are still within the defect reporting period, document the issue before arranging work. Water ingress related to building defects may need to be raised through the proper channel. But internal cabinet damage caused by a leaking fitting or everyday wear is normally an owner responsibility, not a Town Council matter.
Frequently Asked Questions
Can a swollen kitchen cabinet be repaired?
Yes, if the damage is confined to a panel, base or plinth and the surrounding carcass remains stable. Swollen particleboard does not return to its original strength after drying, so the damaged portion normally needs replacement rather than just repainting.
How long does a cabinet repair take?
A straightforward sink-base or local panel repair can often be completed far faster than a full kitchen renovation. The actual timing depends on access, material matching, the need for plumbing rectification and whether the damage extends behind adjacent cabinets. A proper photo review helps set realistic expectations before attendance.
Is water damage under the kitchen sink dangerous?
It can become serious if ignored. Apart from mouldy smells and weakened cabinetry, a continuing leak may affect nearby electrical points, stored chemicals or the cabinet structure supporting the sink area. Stop using the affected water connection if the leak is active and arrange an inspection promptly.
Will the repaired cabinet match the existing kitchen?
A close match is often possible, particularly for plain white, grey or common wood-grain finishes. Exact matching depends on the age and availability of the original laminate. The honest option is to confirm the likely finish before work starts, rather than hiding the limitation until the job is done.
A rotten sink cabinet does not have to become a renovation nightmare. Send HRD Professional Handyman clear photos on WhatsApp – inside the cabinet, the pipework, the damaged board and a wider kitchen view – for a fast, transparent quote on the repair actually needed. The right fix should leave you with a dry, solid cabinet and one less household problem waiting to get worse.

0 Comments