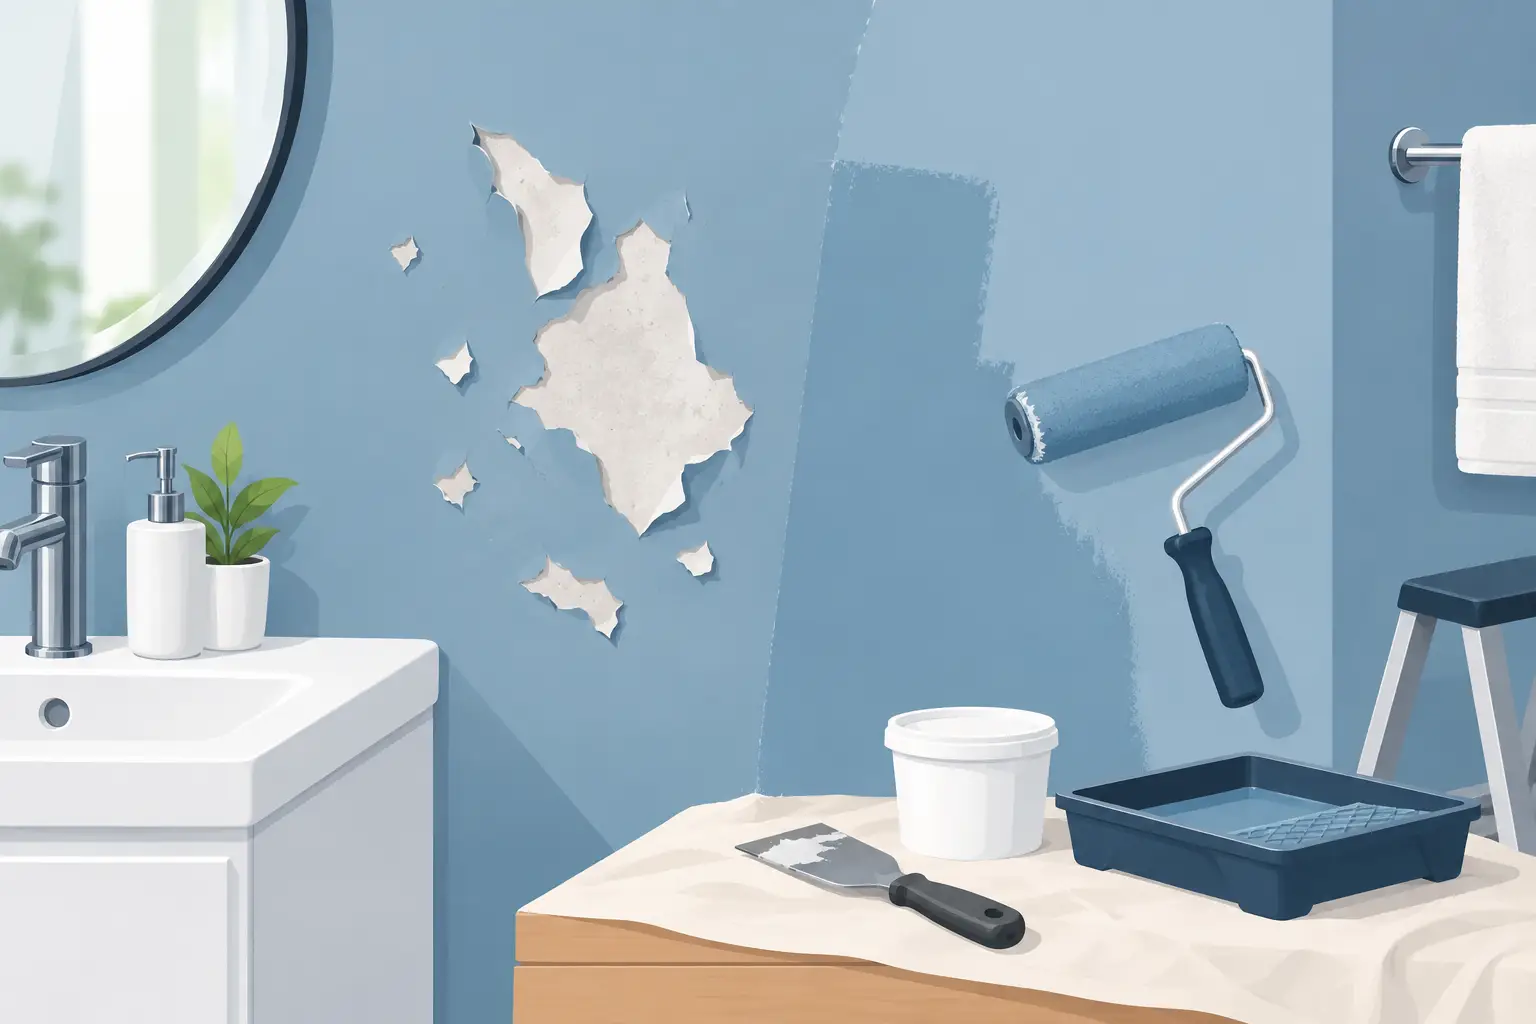
Peeling paint above the shower, around the window, or behind the bathroom door is not just an ugly patch. In a humid Singapore HDB flat or Condo unit, it usually means moisture has got behind the coating. To repair peeling bathroom paint properly, you must remove failed paint, find the moisture source, and rebuild the surface with the correct primer and bathroom-grade paint. Painting over the problem may look acceptable for a few weeks, then the bubbles and flakes return.
Why Bathroom Paint Peels in Singapore Homes
Bathroom walls deal with steam, condensation and regular splashing every day. Even a well-ventilated toilet can stay damp for hours after a hot shower, especially in an internal HDB bathroom with a small window or no direct airflow. Moisture settles on walls and ceilings, then works through weak paint film, hairline cracks or old patches.
The most common cause is poor preparation during the previous paint job. If the painter applied new paint over chalky old paint, damp plaster, soap residue or loose filler, the fresh coat has nothing solid to grip. Cheap paint or an unsuitable primer can make the failure happen faster.
A leaking concealed pipe, loose water tap connection, failed shower screen seal or upstairs plumbing issue is more serious. These faults often create a localised stain, soft patch, bubbling paint or repeated peeling in exactly the same spot. Do not spend money repainting until the leak is ruled out. In a Condo unit, water seepage may also require coordination with the MCST and the unit above. In an HDB flat, responsibility depends on where the leak originates, so document the damage with clear photos before work starts.
Mould is another clue. Black specks near the ceiling or in corners do not automatically mean a pipe leak, but they do show that the bathroom stays too damp. Paint alone will not cure that condition.
How to Repair Peeling Bathroom Paint Without a Repeat Failure
The right repair is more than scraping and touching up. The wall has to be dry, stable and clean before any new coating goes on.
First, check whether the wall is dry
Press gently around the damaged section. A solid wall should feel firm. If it feels soft, crumbly, unusually cold, or visibly damp, stop there. Look for active dripping, staining that grows after showering, or water marks on the opposite side of the wall.
For a small condensation-related patch, improve ventilation and let the area dry thoroughly before repair. Keep the bathroom window open where practical, run the exhaust fan during showers and for at least 20 to 30 minutes afterwards, and avoid leaving wet towels against the wall. If you use a dehumidifier, position it outside the splash zone and follow its electrical safety instructions.
If the dampness is persistent, arrange leak investigation first. A good repairman should tell you when painting is premature, rather than take payment for a cosmetic job that will fail again.
Remove every loose layer
Protect the floor, toilet fittings and nearby cabinets before starting. Use a paint scraper to remove all loose, bubbled and flaking paint until you reach a firm edge. Do not stop at the obvious damaged patch if paint nearby lifts easily. It will only peel later and leave a visible outline.
Sand the edge of the remaining paint so the repair blends into the surrounding wall. For small repairs, medium-grit sandpaper is normally sufficient. Wear a mask and keep the bathroom ventilated. Older properties may have multiple unknown paint layers, so avoid creating unnecessary dust.
Once scraped, wipe off dust and clean the wall. Bathroom surfaces can carry invisible soap film, body wash residue and mildew spores. A suitable mould cleaner can help where mould is present, but follow the product instructions carefully and never mix cleaning chemicals. Allow the wall to dry fully afterwards.
Repair cracks and uneven plaster
Hairline cracks around door frames, wall corners and service-box areas are common in Singapore properties. They may be minor movement cracks, but they still allow moisture behind paint. Open loose material from the crack, apply suitable wall filler, then sand it smooth after curing.
For a larger hollow or damaged plaster area, a skim repair may be needed. This is where many DIY jobs become messy. If the wall is uneven or the paint failure covers a large area, a proper patch and repaint often gives better value than repeatedly buying small tins of paint and trying to hide the same defect.
Use the right primer, then bathroom-grade paint
Primer is not an optional extra on a repaired bathroom wall. It seals porous filler and plaster, improves adhesion and gives the topcoat a consistent base. Choose a moisture-resistant or stain-blocking primer where there was previous staining, but only after confirming the water source is fixed.
Then apply a quality bathroom or kitchen-and-bathroom paint with mould resistance. A washable satin or low-sheen finish is usually easier to maintain than a very flat matt finish, although sheen level depends on the look you want and how uneven the wall is. Higher sheen reflects more light but can highlight poor plastering.
Apply thin, even coats and allow the stated drying time between coats. Rushing because the bathroom is needed that evening is one of the fastest ways to trap moisture and weaken the finish. Keep the room ventilated, but do not aim a fan directly at freshly painted surfaces if it causes dust to stick.
When a Small Paint Patch Is Enough – and When It Is Not
A small patch repair is sensible when the peeling is limited, the wall underneath is dry and solid, and the existing paint colour can be matched. This is often the lowest-cost solution for tenants preparing a unit handover, landlords freshening up between occupants, or homeowners dealing with a minor condensation patch.
A wider repaint is more practical when the wall colour has faded, peeling appears in several places, or the old paint is generally chalking. Spot repairs can leave a noticeable colour difference, especially on white walls exposed to years of humidity and cleaning products. Painting one complete wall often looks cleaner than applying several visible patches.
Do not treat a recurring patch as a paint-only issue. Repeated bubbling near a shower mixer, floor trap, pipe boxing or ceiling can point to water movement behind the surface. If there is a cabinet beside the bathroom wall, check its base too. High humidity and hidden seepage can swell particleboard, loosen laminate and cause wood rot before the damage becomes obvious.
Common Mistakes That Waste Money
The biggest mistake is applying fresh paint directly over peeling edges. The new layer bonds to the failed old layer, not to the wall, so it eventually comes off with it.
Another common mistake is using ordinary interior emulsion paint in a wet bathroom. It may cost less initially, but it is less able to handle repeated condensation and scrubbing. Skipping primer, painting before the wall is dry, and sealing mould under paint all create the same result: a short-lived cosmetic fix.
Be cautious with waterproof coatings too. They can be useful in the correct system, but they are not a cure for an active plumbing leak. If water pressure is coming from behind the wall, a surface coating may simply shift the visible damage elsewhere.
Practical Questions Homeowners Ask
Can I paint over mould in the bathroom?
No. Clean and treat the mould first, address poor ventilation or leaks, and allow the wall to dry. Paint over active mould usually stains through and may peel.
How long should I wait before using the shower?
Follow the paint manufacturer’s curing guidance. Dry to touch is not the same as fully cured. As a practical rule, avoid heavy steam and direct splashes for at least a few days where possible.
Is bathroom wall peeling the Town Council’s responsibility?
Usually, peeling paint inside your flat is the owner’s responsibility. However, if the damage is caused by an external building defect, common pipe or water ingress from another source, report it promptly and keep photographic evidence. The responsible party depends on the actual cause.
Can a handyman match my existing paint colour?
Often, yes, especially if you have leftover paint or the original colour reference. Exact matching can still be difficult on aged walls, which is why repainting the full affected wall may give a neater result.
If your bathroom paint keeps peeling, do not keep covering it up. Send clear WhatsApp photos of the affected wall, nearby plumbing points and any stains to HRD Professional Handyman for a fast, transparent assessment and quote. You will know whether a straightforward preparation-and-paint repair is enough, or whether the moisture source needs fixing first – with no hidden fees and work planned to minimise disruption to your home.
0 Comments